

Introduction
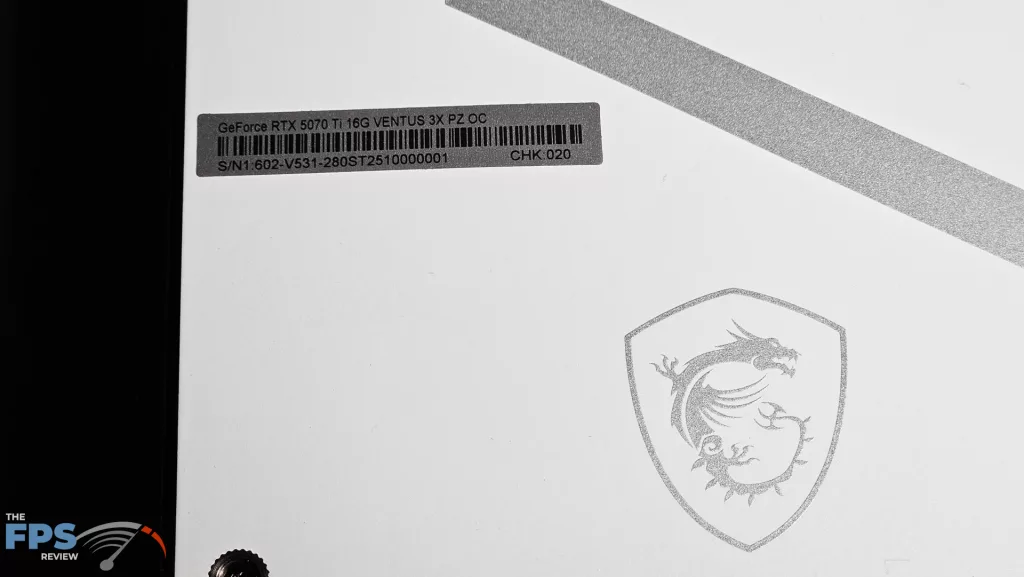
In our fourth review of MSI Project Zero, we now have the MSI GeForce RTX 5070 TI 16G VENTUS 3X PZ OC video card (G507T-16V3ZC) to judge. That is the only video card within the MSI Project Zero lineup. Should you are so inclined, there may be a non-OC version available as well. The VENTUS video card line is one step up from the lower tier of MSI cards, the GeForce RTX 5070 Ti 16G SHADOW 3X. It represents a really lean card with reference clocks and no RGBs. Nonetheless, MSI generally provides a really robust cooling solution and clean design.
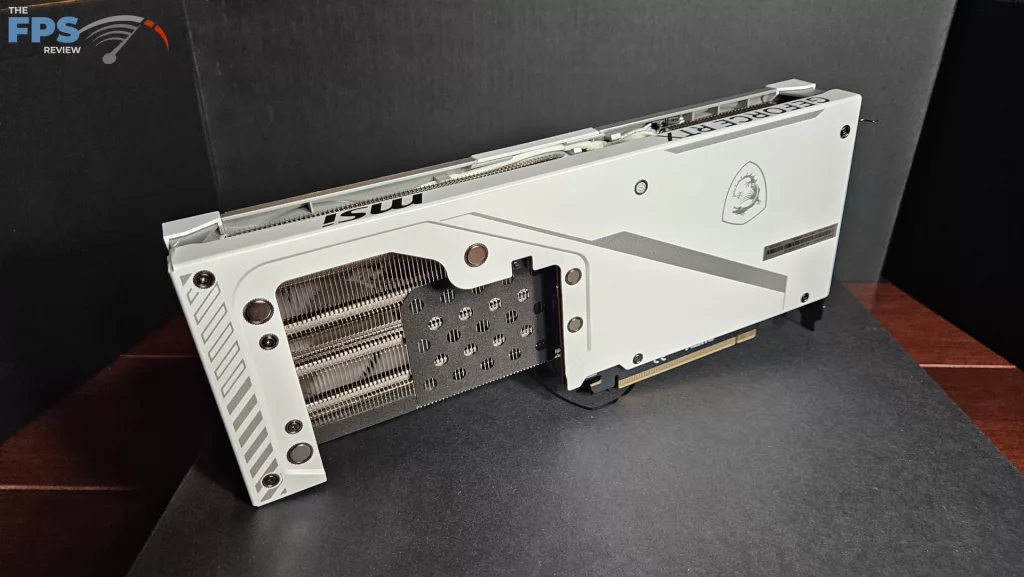
What sets this card other than its “normal” variants is the Project Zero 12VHPWR connection and backplate. As we now have discussed in our previous three articles covering Project Zero (here, here, and here), this design concept is all about clean, crisp-looking PC design and minimal or no cable clutter. So, in that vein, the RTX 5070 Ti 16G VENTUS 3X PZ OC has been constructed with a removable magnetic backplate and a 12V 2×6 HPWR connection dongle that sits along the back of the heatsink completely out of sight.
Just briefly, the NVIDIA GeForce RTX 5070 Ti was launched in February 2025 and stands overall because the number three card within the lineup. The RTX 5070 Ti was launched as a partner card only, so no Founders Edition. We reviewed a few cards here at launch, and in addition only in the near past, we published an overclocking article. The GeForce RTX 5070 Ti is predicated on the GB203 die, and NVIDIA Blackwell architecture on TSMC 4nm 4N NVIDIA custom process. The NVIDIA GeForce RTX 5070 Ti consists of 6 GPCs, 35 TPCs, and 70 SMs with 128 CUDA Cores per SM. If you add all this up, the NVIDIA GeForce RTX 5070 Ti has 8,960 CUDA Cores, 280 fifth Gen Tensor Cores, 70 4th Gen RT Cores, 96 ROPs, and 280 Texture Units. The GPU Boost Clock is about at 2452MHz.
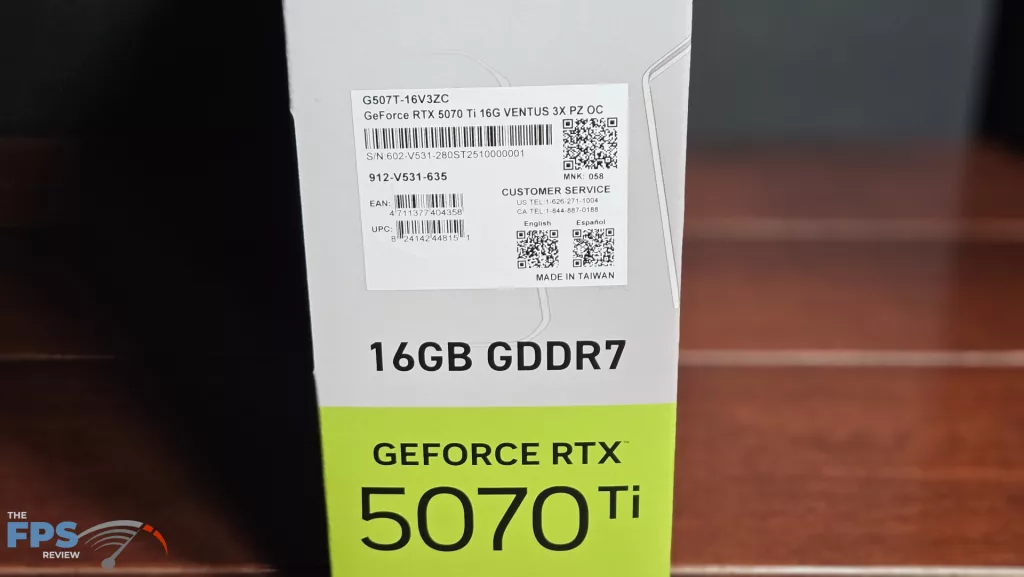
Our MSI GeForce RTX 5070 Ti 16G VENTUS 3X PZ OC comes from the factory with an overclock, because the name says. MSI sets the Boost clock at 2482MHz or a 1% overclock. Memory consists of 16GB of GDDR7 on a 256-bit memory bus at 28Gbps, giving it 896GB/s of memory bandwidth. The TGP (Total Graphics Power) is 300W.
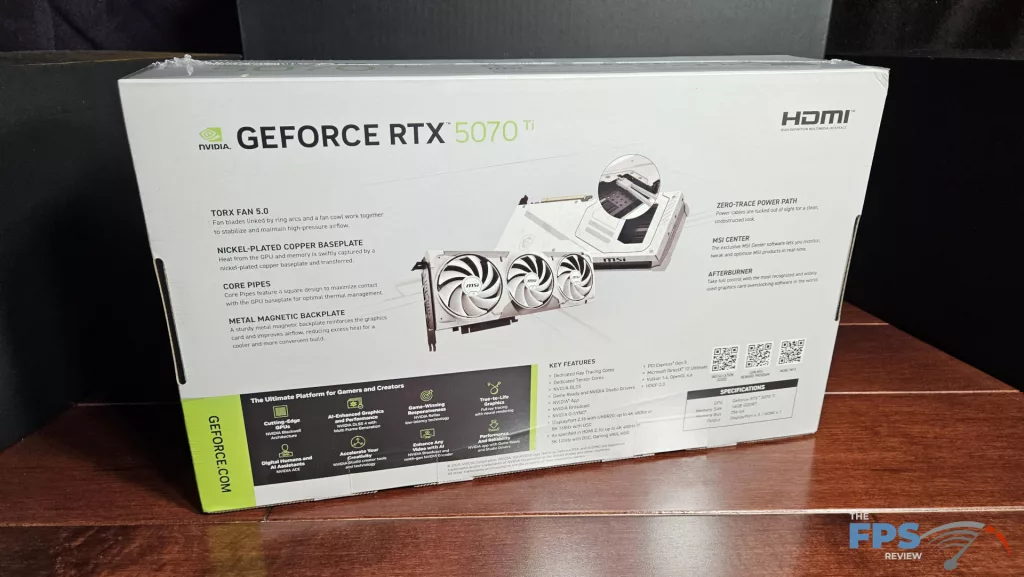
MSI does deal with cooling for the VENTUS PZ, along with the Project Zero modifications. The cooling highlights are Torx Fan 5.0, copper heatsink baseplate, square core heatpipes that directly contact the baseplate, vented backplate, and triple fan heatsink. The video card BIOS can also be set to shut down the fans at low temperatures, called ZERO FROZR. MSI emphasizes quiet fans and lower peak temperatures. Last but not least, the MSI GeForce RTX 5070 Ti 16G VENTUS 3X PZ OC is built specifically to adapt to NVIDIA SFF specifications, so this video card will fit nicely into any qualifying SFF PC case. We have now a discussion of the “NVIDIA SFF Program” here.
The MSI GeForce RTX 5070 Ti 16G VENTUS 3X PZ OC is $849 MSRP on the MSI Storefront and in addition at Newegg. The video card carries a three-year warranty.


MSI GeForce RTX 5070 Ti 16G VENTUS 3X PZ OC
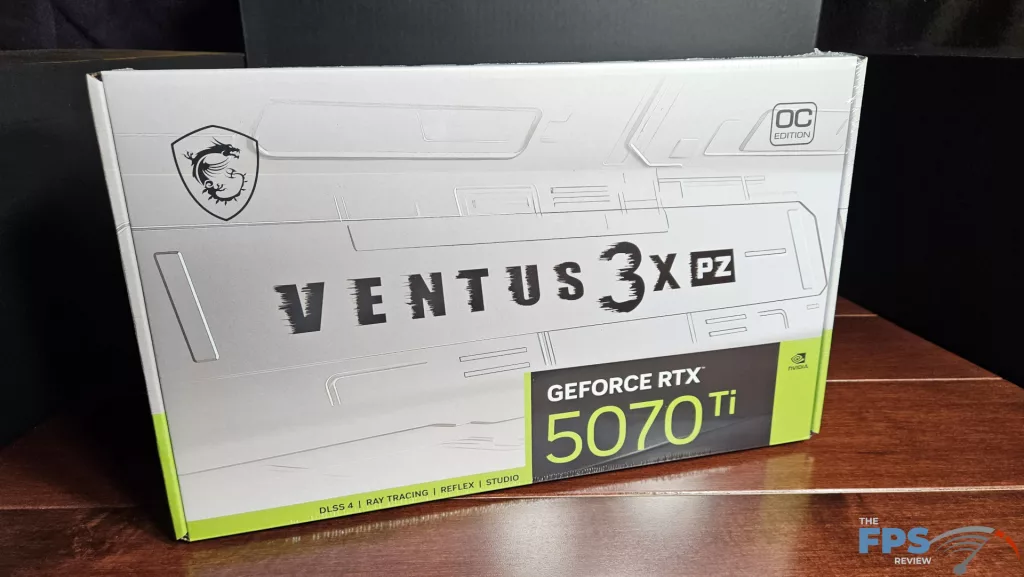
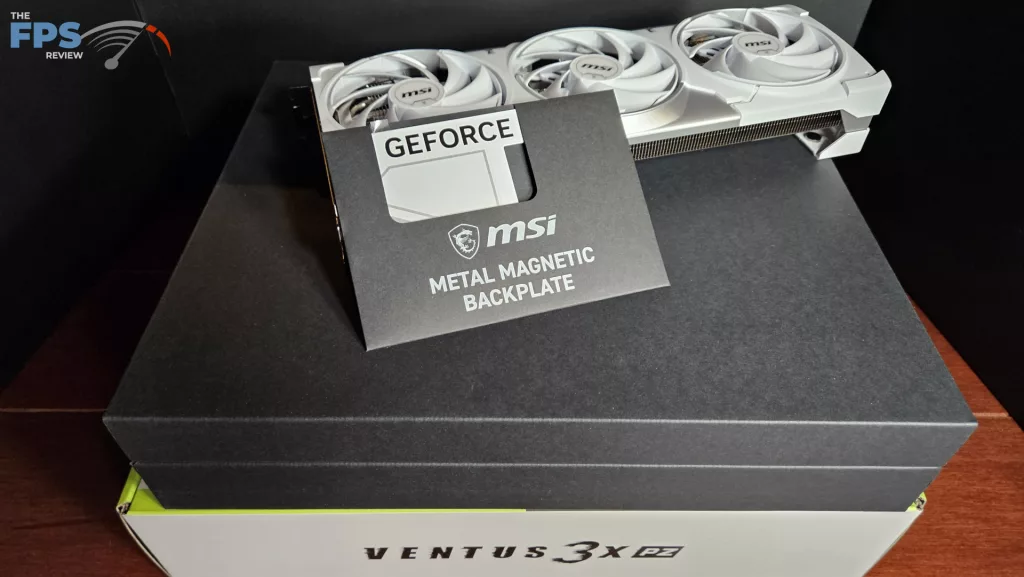
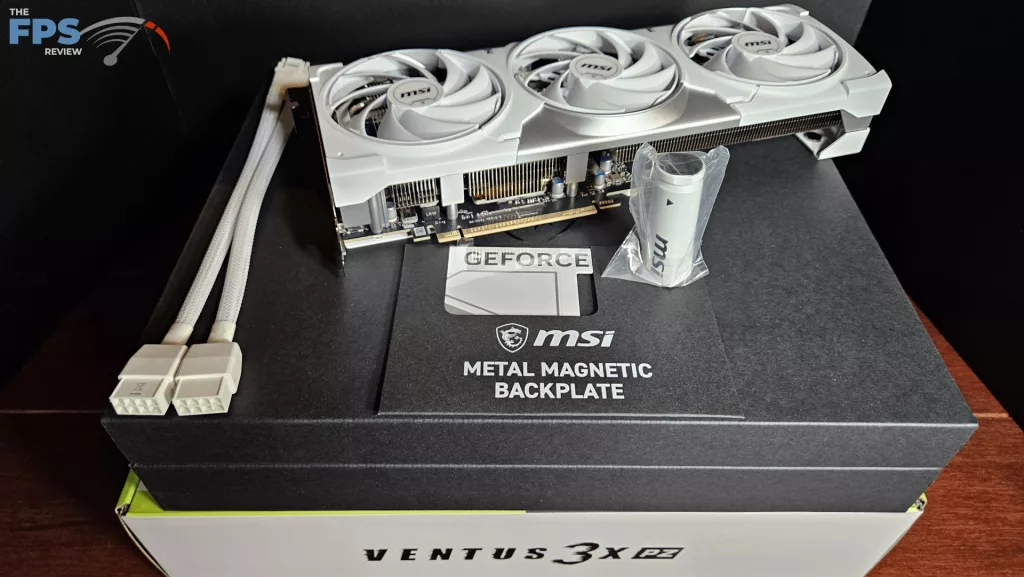
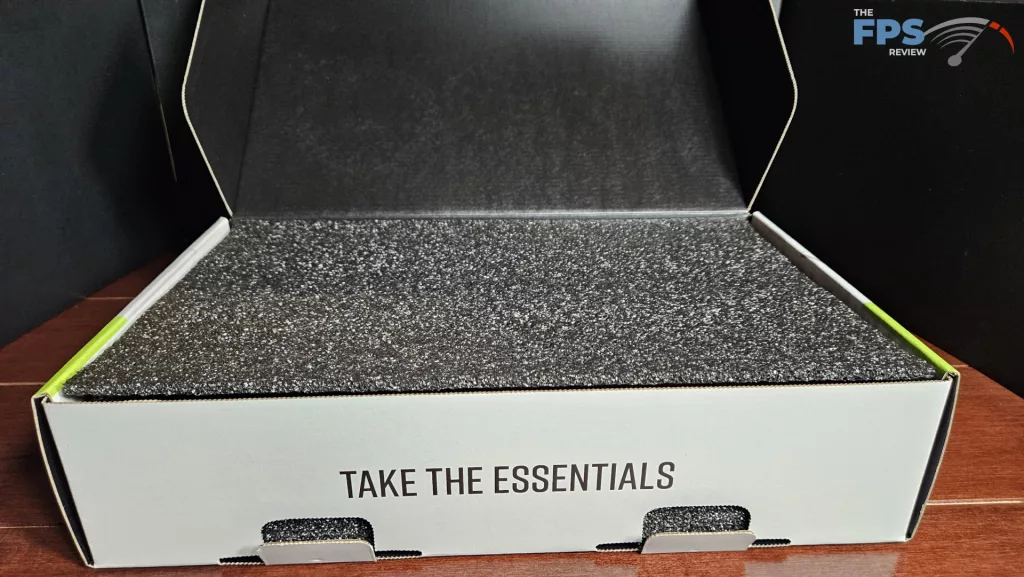
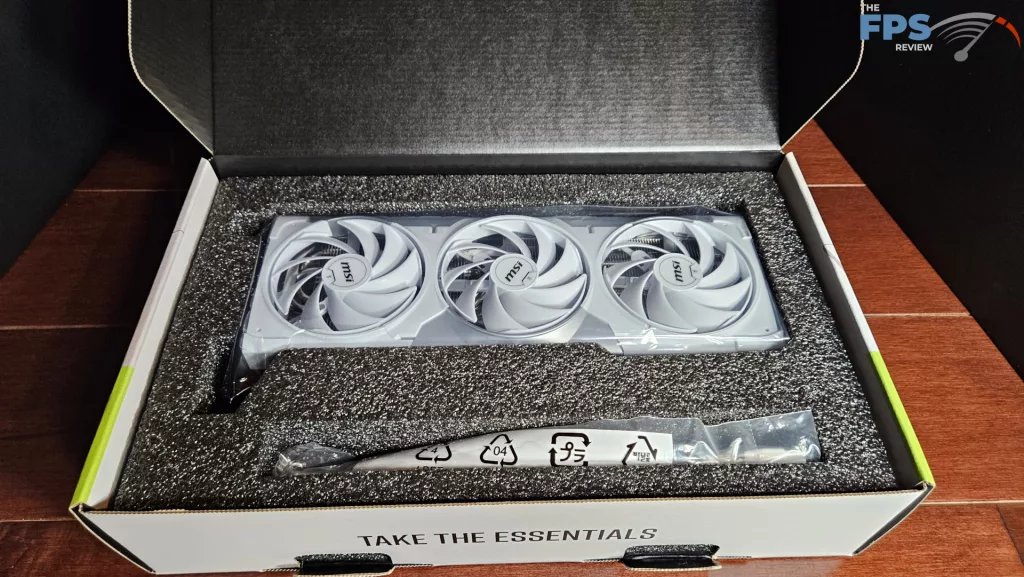
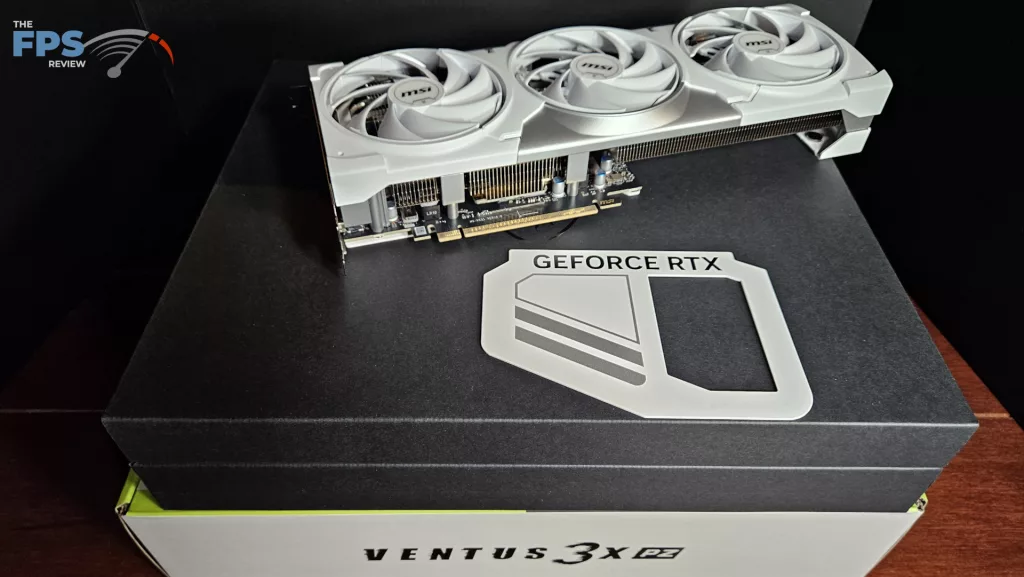
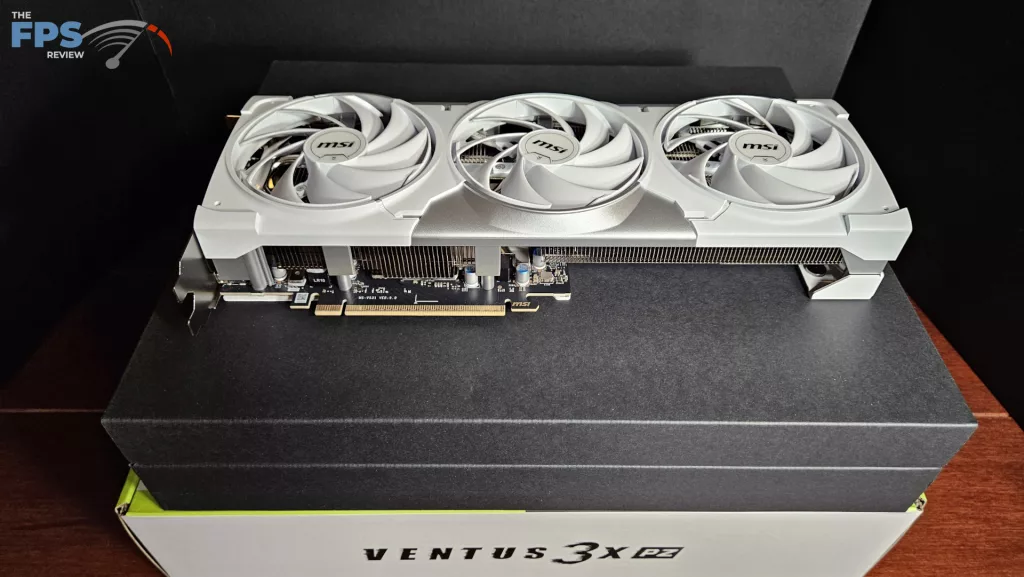
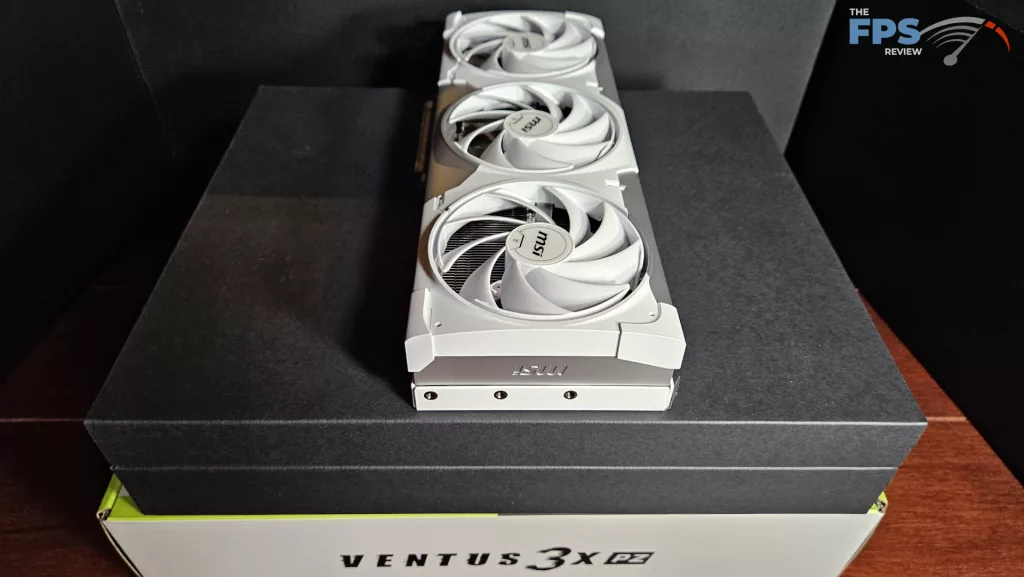
The video card arrived to us drectly from MSI. That is the total retail package, wrapped in plastic shrink-wrap. It is a single heavy cardboard box hinged on the back. Upon opening, the video card is protected by formed foam and wrapped in a plastic bag. Within the front slot are the accessories: a magnetic video card stand and the twin PCIe 12V 2×6 HPWR dongle. This dongle differs from what we generally see within the RTX 5000 series, because it is for much longer and all white. The wiring can also be sleeved in white PET.
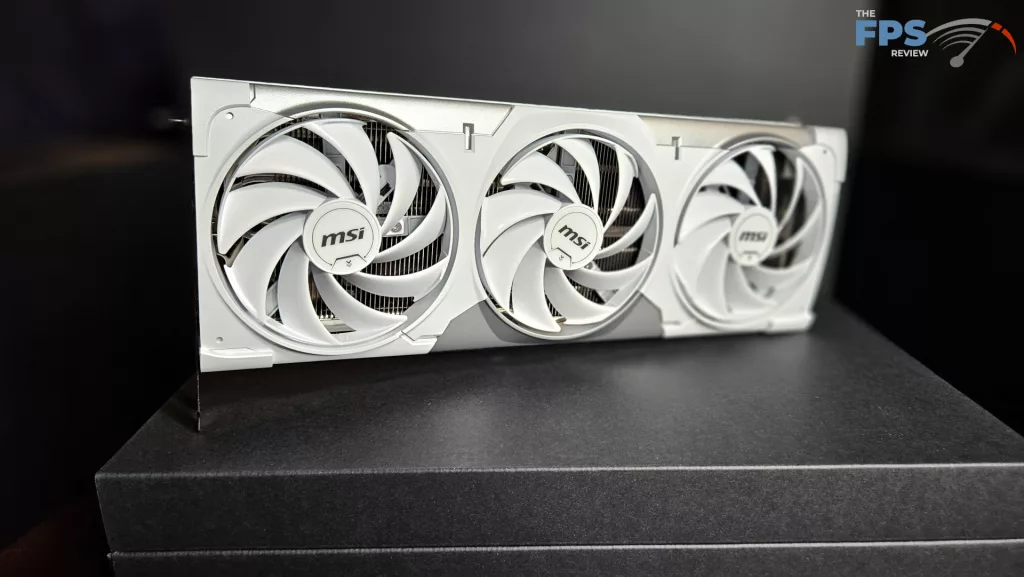
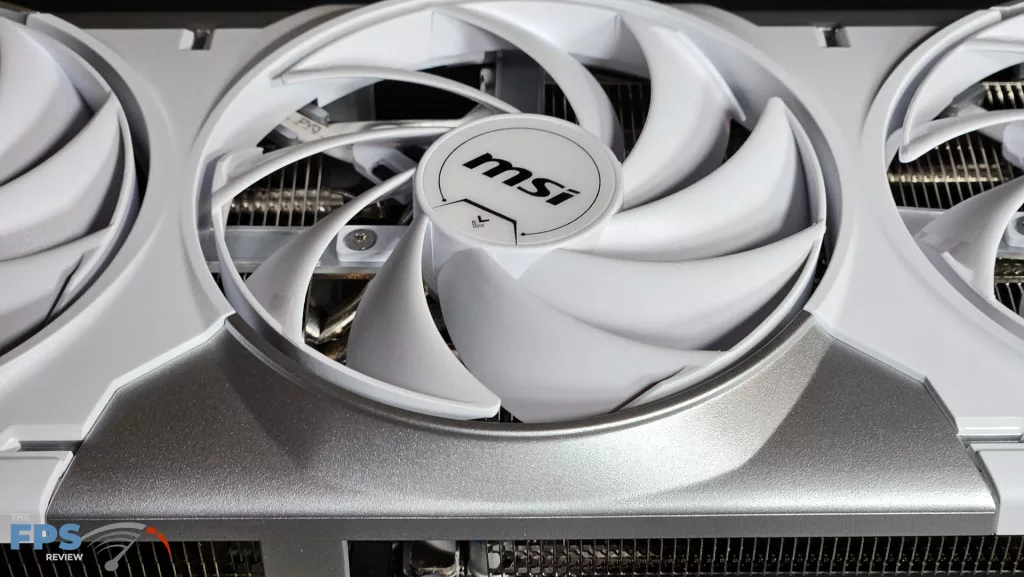
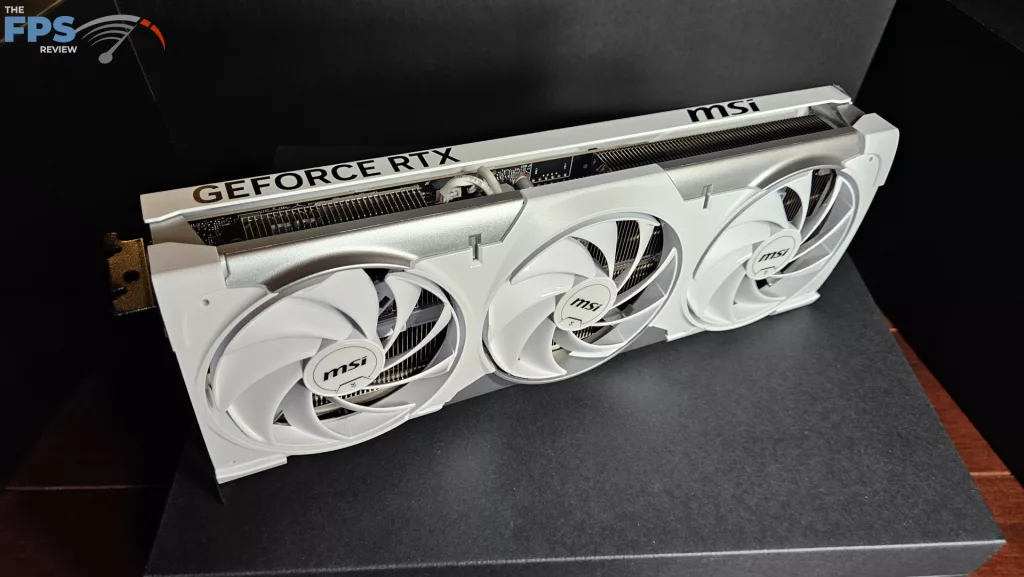
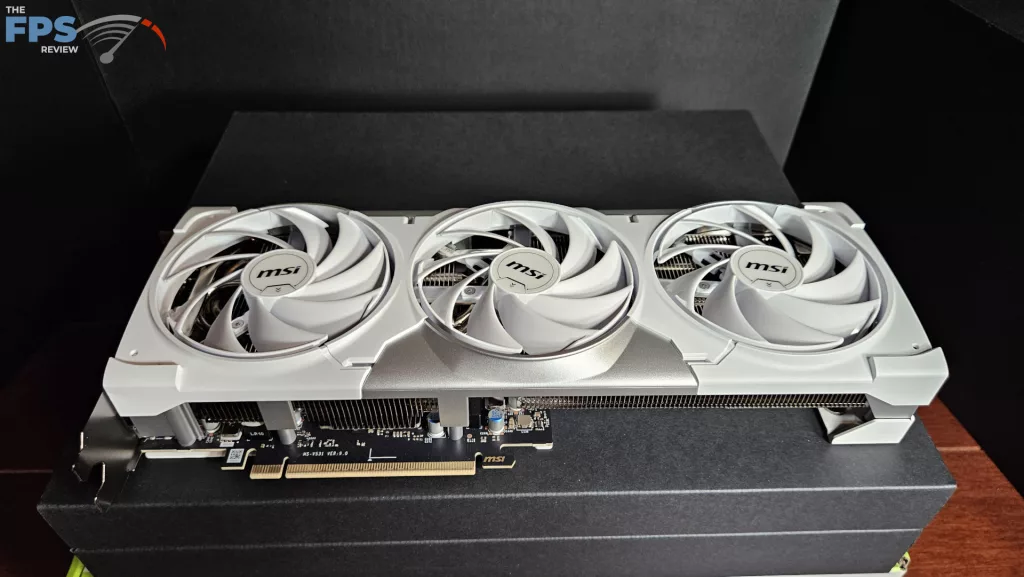
The video card has been designed to adapt to the MSI Project Zero aesthetic, so it’s primarily white with silver accents. This complements each piece we now have reviewed up to now. The highest shroud is plastic with raised fan cowlings. The TORX 5.0 fans are 90mm nine bladed double ball bearing fans. There are three groups of three blades joined on the periphery, which MSI calls Ring-Arc. This design is touted to extend airflow by 23%. The heatsink is full-length and quite generous, but surprisingly lightweight.
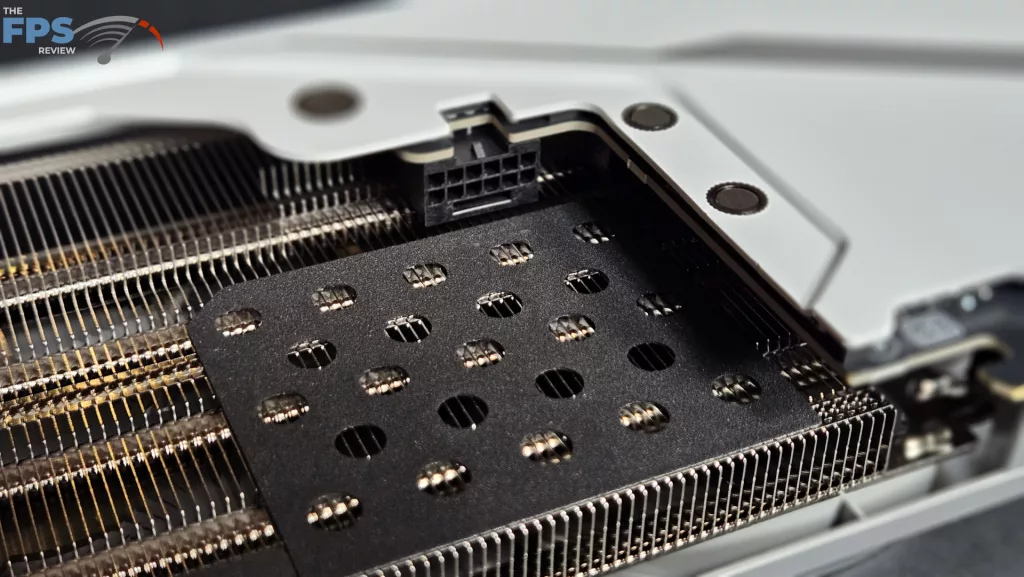
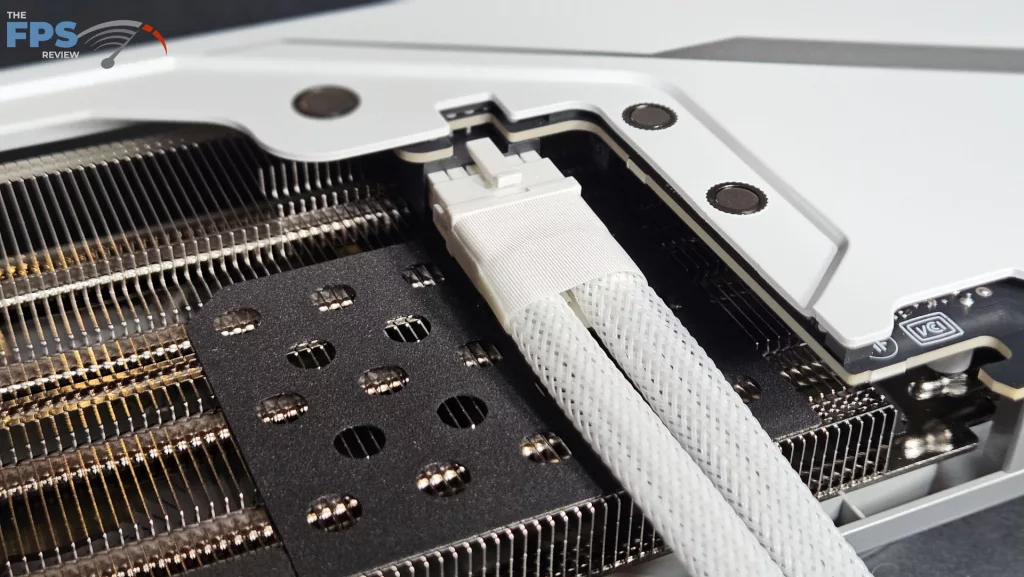
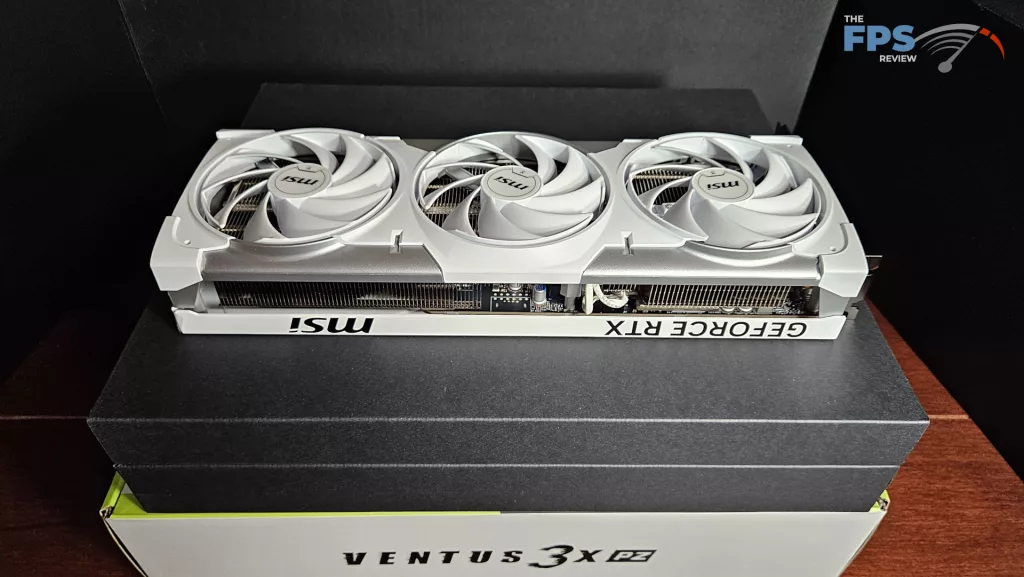
As we stated above, cooling is by a nickel-plated copper baseplate with heatpipes directly contacting the baseplate. The magnetic backplate has a big cut-out to enhance ventilation. All the backplate is powder-coated metal, which wraps across the heatsink to supply extra support. As you will note in the photographs, the 12V 2×6 HPWR connector is contained in the video card just above the heatsink fins. This permits the dongle to pass under the backplate and out the underside of the cardboard. Connected horizontally in a case, you won’t ever see a cable, plus the cable stays essentially without bends, kinks, or curves, a key to safety when using a 12VHPWR cable. There’s a material piece inside resting on the heatsink fin stack that protects the HPWR dongle from heat, as you will note.
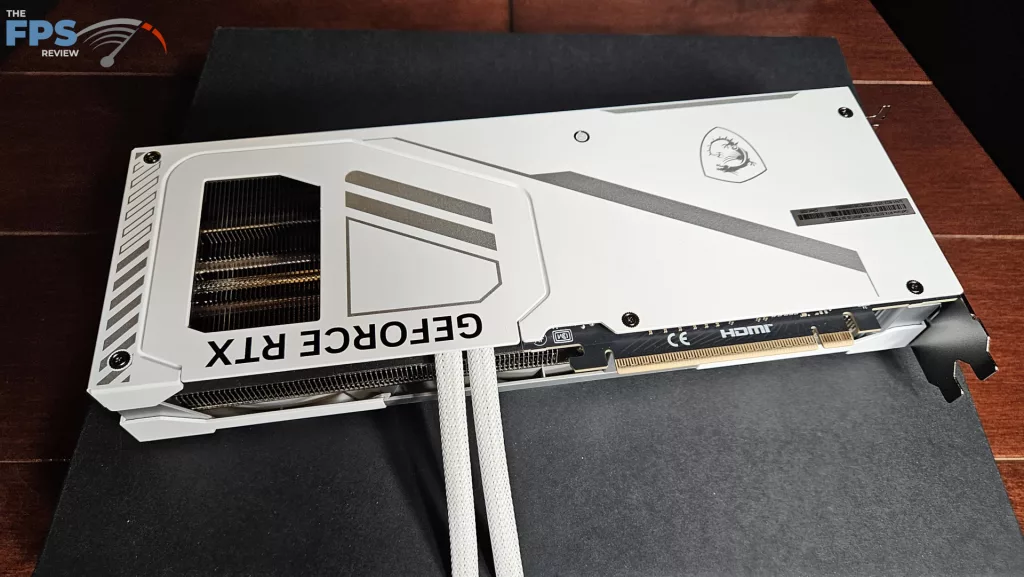
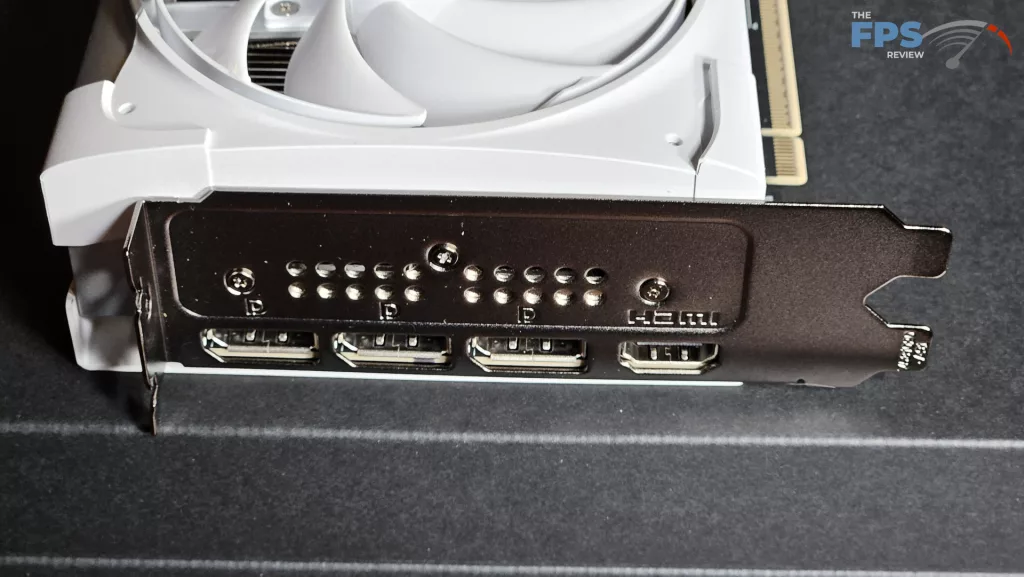
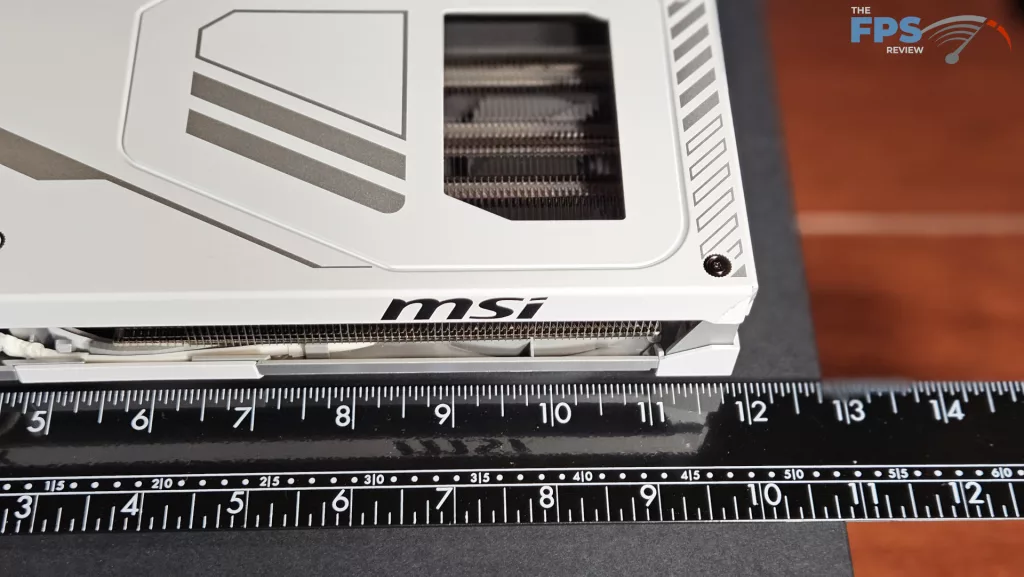
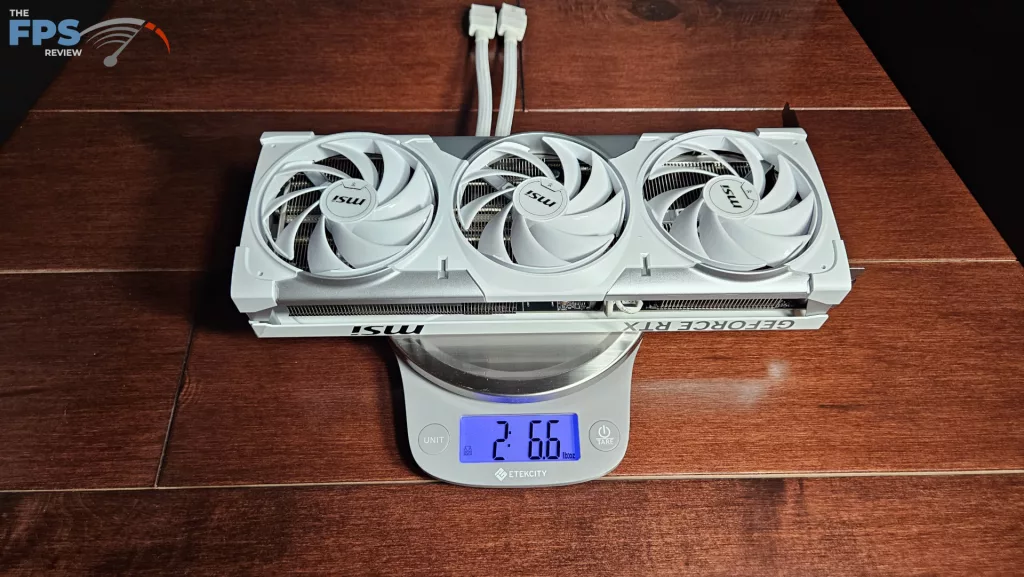
As we stated, the design elements are very Spartan, no RGB. This does work well with the general finished look that Project Zero is aiming for. All in all, the fit, finish, and design concept are excellent. The video card may be very sturdy, but overall quite light. Measurements are 11 7/8 x 4 x 1 7/8 inches, overall a 2.5 slot card. This easily conforms to NVIDIA’s SFF specification. The video card weighs in at 2 kilos 6 oz. Outputs are the standard HDMI 2.1a and three DisplayPort 2.1b. The entire board power is listed at 300Watts through which no less than a 750Watt PSU is advisable. The video card supports PCIe 5.0 x 16.

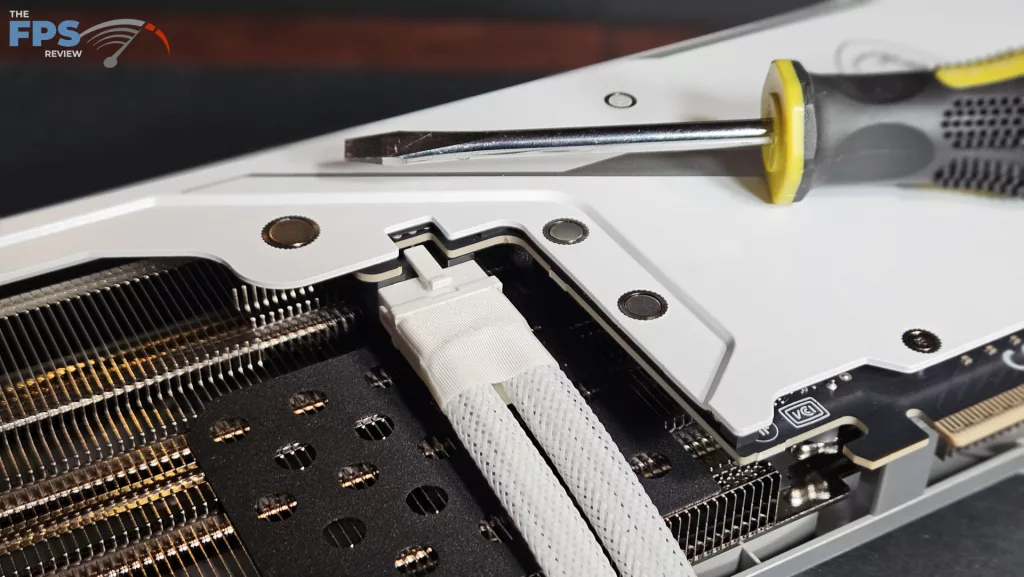
We must always mention that the one gripe we had with this video card was the dongle. We found the design to be a bit concerning in that there isn’t a good technique to grasp the connector to put it into the socket on the cardboard. Given all of the reports of damaged video cards on account of “faulty” connectors, we actually wanted a firm connection. If you’ve gotten average or above fingers, you possibly can not push the connector snugly into the socket. The connector was quite unwilling to slip in; you possibly can not push it via grasping the material or PET sleeve, or else you’ll grossly bend the wiring.
That, and you can’t get your fingers across the top of the connector for lack of space. We needed to enlist a specialized “connector insertion tool,” as you possibly can see. By placing the blade of the screwdriver at the sting of the plastic on the connector, we gently wiggled it fully in place. We don’t recommend being in a rush on this step. We also recommend inserting the 12V HPWR cable before mounting the video card into the motherboard. On our test platform, we used our own PSU 12V HPWR 2×6 cable because it was much easier to insert.